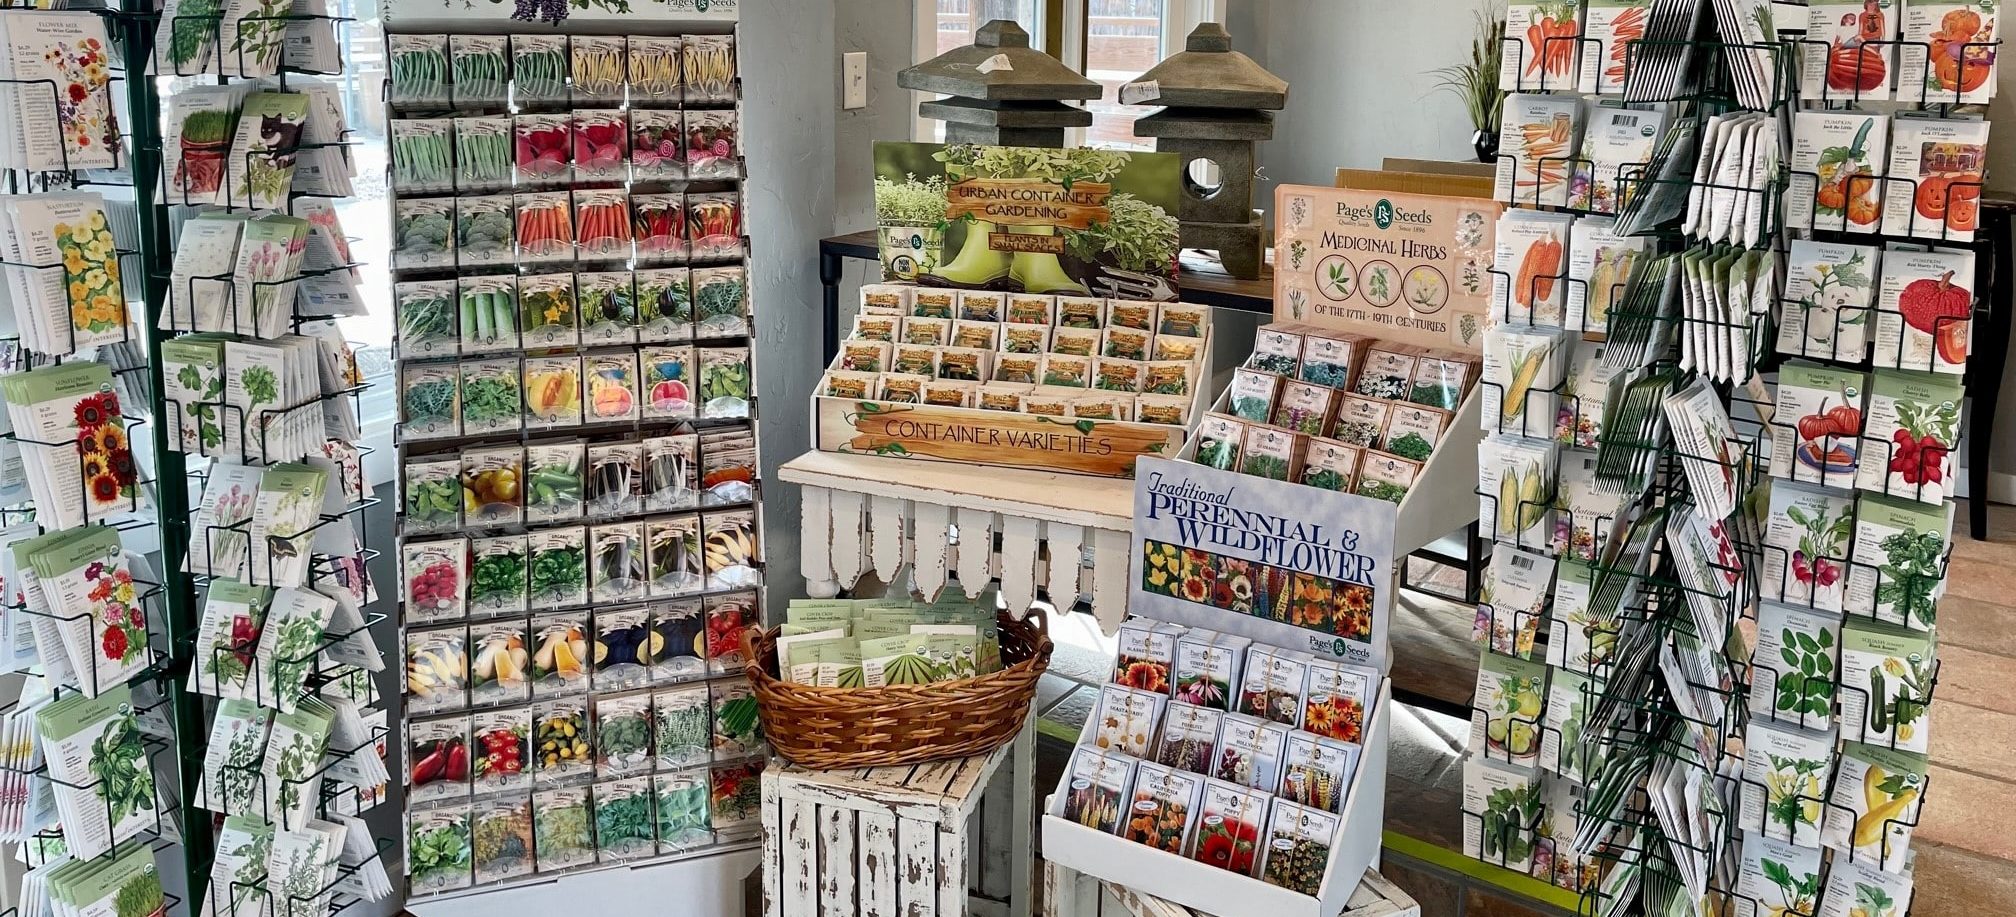
Starting seeds indoors offers an opportunity to exercise your green thumb before the warm spring weather rolls around. If you have particular vegetable or flower varieties you love, but do not find them at the nursery, consider looking for seed and starting them yourself. Now is the time of the year to plan that out.
Starting seeds indoors now also extends your gardening season, allowing you to grow varieties that require longer growing times because they get a head start indoors and transplant well out of doors. Some varieties are best started outdoors because they have a short enough crop cycle to finish during the season. Or they may not take to transplanting well out of doors or may better appreciate outdoor growing conditions than indoor growing conditions i.e. cool temperatures. Check out our list of preferred indoor and outdoor starting plants below.
Light:
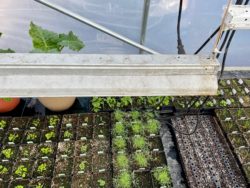 The most important consideration for starting seeds indoors is to provide bright light conditions. Otherwise, eventually the seedlings are going to stretch for light and fail to become transplantable in the spring. For best growth, seedlings need at least 16 hours of light per day. Even your sunniest window may not supply enough light to grow strong plants. To provide adequate light, we recommend using a shop light with a mix of cool- and warm-white fluorescent bulbs placed 6–8 inches above the seedlings. You could also purchase special grow lights. To make it easier, plug your lights into a timer that is set to turn on and off automatically.
Containers and trays:
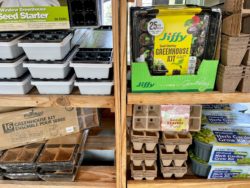 Almost any container can be used to start seeds including milk or egg cartons, yogurt cups, or plastic berry trays. When reusing any container, it should be cleaned and sanitized and have holes that allow excess water to drain. For easy transplanting, try sowing seed in a small plastic or coco fiber container with holes for drainage. Place these containers in a plastic tray with no drainage to collect the drainage water. The small container root balls will save you time and minimize root damage to your seedling at transplant time.
Growing Media:
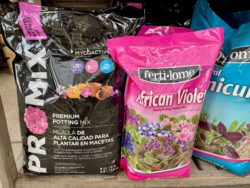 A high-quality seed-starting mix, a type of growing media, or premium potting soil that is loose and lightweight yet holds moisture and is free from sticks and bark is best. Avoid soil from your garden that may have bugs, weeds, or diseases that can affect germination. Thoroughly moisten media before filling your container. Read the seed packet for sowing depth in the soil.
Moisture:
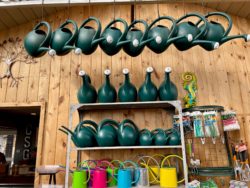 Covering your containers with a clear lid helps retain moisture and increase humidity during germination. After your seedlings emerge, remove the cover. A spray bottle or mister can be a great way to keep growing media moist without damage to seeds and young seedlings. When more water is needed and seedlings are established, move up to a watering can. Check regularly to prevent seeds and seedlings from drying out.
Temperature:
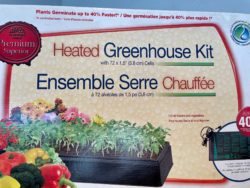 Optimal media temperatures for seeds to germinate will vary for each variety. Once the seeds germinate, room temperatures of 70º–75ºF will help the seedlings grow best. Warm season plants such as tomatoes, eggplants, and peppers appreciate warmer soil conditions and may benefit from the use of a special heat mat for germination when sown indoors. Once germinated, the heat mat is no longer necessary.
Air Circulation:
Air circulation around seedlings can help prevent disease problems while strengthening seedlings. A fan on low setting will create the needed airflow.
Fertilizer:
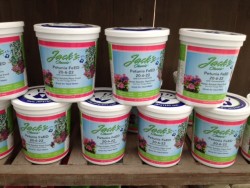 A water-soluble fertilizer may be used when seedlings have at least two sets of true leaves. Check the label for the recommended rate to mix for seedlings and transplants.
Hardening-off:
This is the final step before planting your seedlings into the garden. It is a one to two week transition period that helps the tender seedlings adjust to outdoor conditions, including exposure to direct sunlight, wind, and changes in temperature. On the first day, put seedlings in a protected location out of direct sun and wind. Leave them outdoors for one to two hours then bring them back indoors. Each day, leave them outdoors longer and gradually move them into more exposed areas. Make sure to frequently check the soil moisture.
Gardening from seed is very rewarding. On the inside of every Botanical Interests seed packet you will find the best growing conditions for the variety. Including information about special care, organic gardening methods, and tips to improve your garden throughout the seasons. Use Botanical Interests garden journal templates and lists to help you keep track of which seeds you started and when. By following these guidelines and keeping a journal, all that’s left to do is watch your seeds grow into viable and healthy plants!
| Crop | When to Sow Seeds Indoors | Set out Date | best direct seeded outdoors | may be direct seeded outdoors |
| Onions | mid February | mid April | ||
| Parsley | mid February | late April | ||
| Columbine | mid February | late April | ||
| Echinacea | mid February | late April | ||
| Peas | late February | late March | yes | |
| Peppers | late February | late May | ||
| Cabbage | early March | mid April | ||
| Spinach | early March | mid April | ||
| Broccoli | mid March | late-April | ||
| Cauliflower | mid March | mid April | ||
| Collards | mid March | mid April | ||
| Kale | mid March | mid April | ||
| Lettuce | mid March | mid April | yes | |
| Swiss Chard | mid March | late April | ||
| Kohlrabi | mid March | mid April | yes | |
| Mustard | mid March | mid April | yes | |
| Cleome | mid March | late May | ||
| Hollyhocks | mid March | late May | ||
| Beets | late March | late-April | yes | |
| Eggplant | late March | late May | ||
| Okra | early April | late May | yes | |
| Tomatoes | early April | late May | ||
| Cucumber | mid April | late May | yes | |
| Basil | mid April | late May | ||
| Melons | mid April | late May | yes | |
| Marigold | mid April | late May | ||
| Zinnia | mid April | late May | ||
| Corn | late April | mid May | yes | |
| Pumpkins | late April | late May | yes | |
| Squash | late April | late May | yes | |
| Beans | Not recommended | late May | yes | |
| Carrots | Not recommended | late-April | yes | |
| Radishes | Not recommended | late-April | yes | |
| Nasturtium | Not recommended | late-April | yes | |
| Calif. Poppy | Not recommended | late-April | yes |

